Free Azure Pipeline for GitHub Open Source Projects: Complete DevOps Automation Guide

After Microsoft’s acquisition of GitHub, many speculated that VSTS might be discontinued for GitHub integration. However, not only did VSTS survive, it evolved into Azure Pipeline and Azure Pipeline and DevOps for DevOps automation, bringing significant benefits to open source projects and the GitHub community. The most exciting news? Open source projects on GitHub can now use Azure Pipeline for FREE with unlimited build minutes and up to 10 parallel CI/CD jobs through GitHub integration!
If you’re looking for more resources on open source development, check out this comprehensive GitHub Open Source Projects Guide to discover amazing tools and best practices for your projects.
Understanding Azure Pipeline
Azure Pipeline is Microsoft’s modern CI/CD solution that brings the concept of “pipeline as code” to life. Just as its name suggests, it allows you to break down build tasks into discrete steps and chain them together to create a streamlined workflow. Similar to Jenkins Pipeline but with a cleaner interface and better integration with GitHub.
Key Features
- Support for Node.js, Python, Java, PHP, Ruby, C/C++, .NET, Android, and iOS
- No DevOps expertise required - intelligent project detection
- Visual pipeline editor and YAML configuration
- Free for open source projects
- Cross-platform build agents (Windows, Linux, macOS)
The best part? You don’t need to be a DevOps expert. Azure Pipeline can automatically detect your project type and suggest appropriate build configurations.
Setting Up Your First Pipeline
Prerequisites
Before we begin, you’ll need:
- A GitHub account (free)
- A Microsoft account (free)
- A GitHub repository with your project
Step 1: Create an Azure Pipeline and DevOps Organization
Navigate to dev.azure.com and sign in with your Microsoft account. If you don’t have an organization yet, you’ll be prompted to create one. Organizations act as containers for your projects - think of them as workspaces where teams collaborate.
Step 2: Create a New Project
Within your organization, click “New Project” and give it a meaningful name. This project will house your pipeline configurations and build history.
Step 3: Connect Azure Pipeline to GitHub for integration
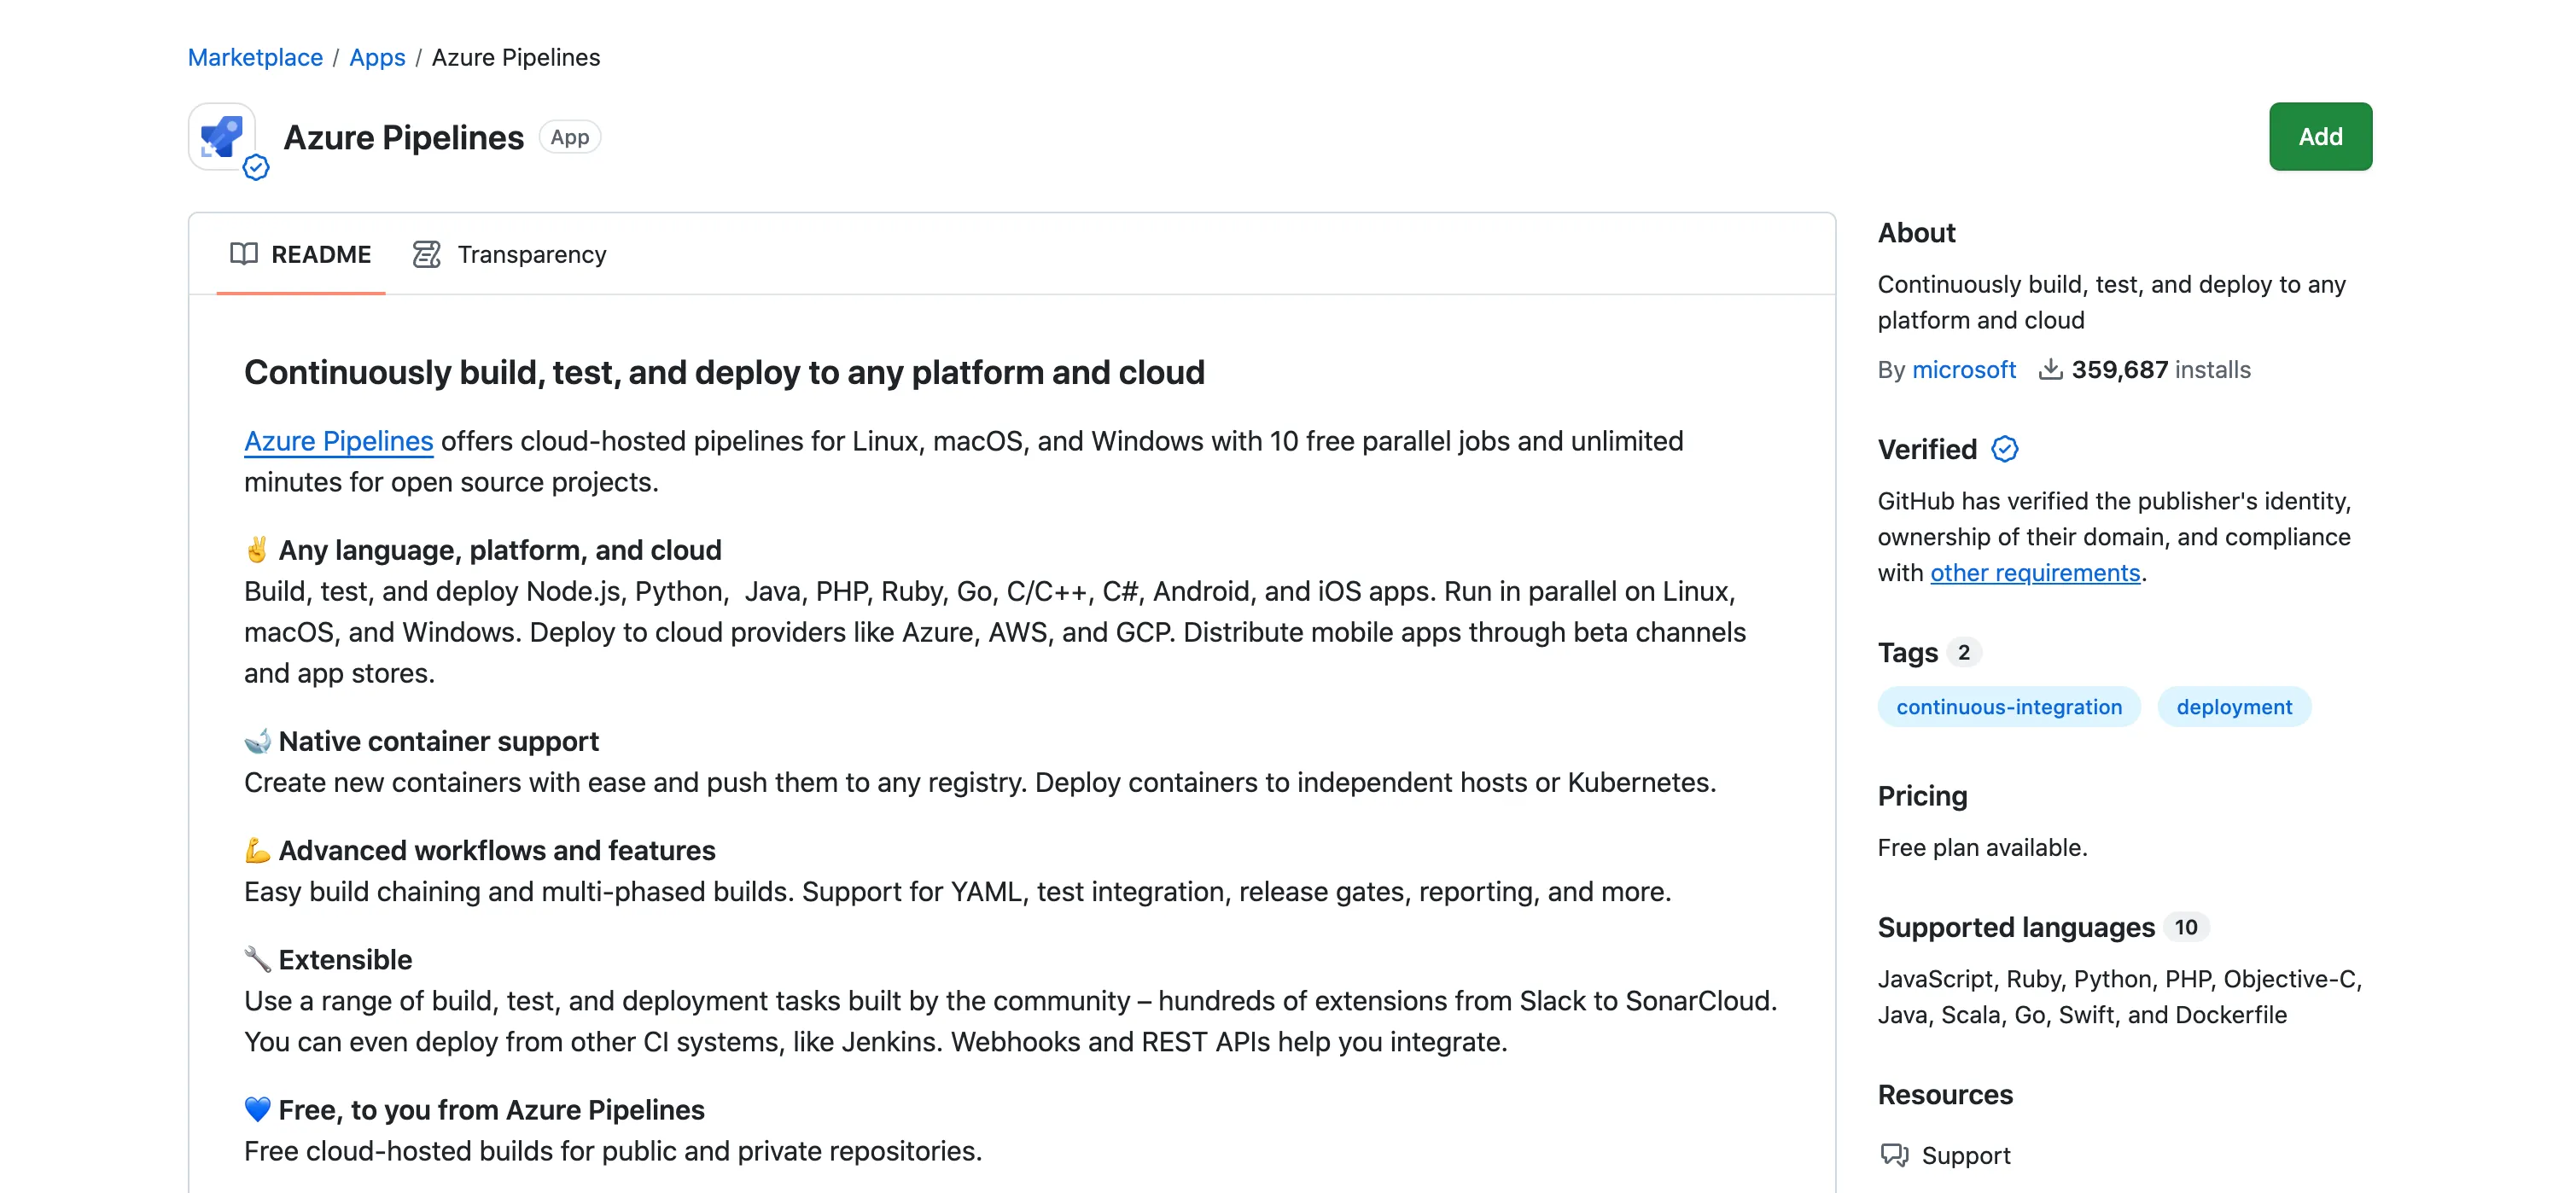
Click “New Pipeline” and select GitHub as your source. The first time you connect, you’ll need to install the Azure Pipelines app from the GitHub Marketplace. This gives Azure Pipeline and DevOps the necessary permissions to access your repositories.
Important: Don’t just click “Authorize” - instead, click the “Install our app from the GitHub Marketplace” link for proper integration.
Step 4: Select Your Repository
You can choose to grant access to all repositories or select specific ones. For security, it’s recommended to start with specific repositories.
Step 5: Configure Your Pipeline
Azure Pipeline and DevOps will analyze your GitHub repository and automatically suggest a pipeline configuration. For most projects, this auto-generated YAML will work perfectly as a starting point.
Understanding Pipeline YAML
Here’s a simple example of a .NET Core pipeline configuration:
trigger:
- main

pool:
  vmImage: 'ubuntu-latest'

variables:
  buildConfiguration: 'Release'

steps:
- task: DotNetCoreCLI@2
  displayName: 'Restore packages'
  inputs:
    command: 'restore'
    projects: '**/*.csproj'

- task: DotNetCoreCLI@2
  displayName: 'Build project'
  inputs:
    command: 'build'
    projects: '**/*.csproj'
    arguments: '--configuration $(buildConfiguration)'

- task: DotNetCoreCLI@2
  displayName: 'Run tests'
  inputs:
    command: 'test'
    projects: '**/*Tests.csproj'
    arguments: '--configuration $(buildConfiguration)'
This pipeline automatically triggers on commits to the main branch, restores NuGet packages, builds the project, and runs tests.
Adding Build Status Badge
One of the most satisfying aspects of CI/CD is displaying your build status badge on your GitHub repository’s README. It shows visitors that your project is actively maintained and currently building successfully.
Getting Your Badge
- Navigate to your pipeline in Azure Pipeline and DevOps
- Click on the three dots menu (...)
- Select "Status Badge"
- Copy the Markdown code provided
- Add it to your README.md file in GitHub
The badge will automatically update to reflect your current build status - green for success, red for failure, and yellow for in-progress builds.
Example badge markdown:
[](https://dev.azure.com/yourorg/yourproject/_build/latest?definitionId=1&branchName=main)Advanced Pipeline Features
Multi-Platform Builds
Test your code across multiple platforms simultaneously:
strategy:
  matrix:
    linux:
      imageName: 'ubuntu-latest'
    mac:
      imageName: 'macOS-latest'
    windows:
      imageName: 'windows-latest'

pool:
  vmImage: $(imageName)
Conditional Steps
Run certain steps only under specific conditions:
- task: PublishBuildArtifacts@1
  condition: and(succeeded(), eq(variables['Build.SourceBranch'], 'refs/heads/main'))
  inputs:
    pathToPublish: '$(Build.ArtifactStagingDirectory)'
    artifactName: 'drop'
Scheduled Builds
Set up nightly builds or regular test runs:
schedules:
- cron: "0 0 * * *"
  displayName: Daily midnight build
  branches:
    include:
    - main
Best Practices for Open Source Projects
1. Enable PR Validation
Configure your pipeline to run on pull requests. This ensures contributed code meets your quality standards before merging.
2. Use Build Matrices
Test against multiple versions of your dependencies to ensure compatibility.
3. Cache Dependencies
Speed up builds by caching package manager downloads:
- task: Cache@2
  inputs:
    key: 'npm | "$(Agent.OS)" | package-lock.json'
    restoreKeys: |
      npm | "$(Agent.OS)"
    path: $(npm_config_cache)
  displayName: Cache npm packages
4. Secure Your Secrets
Never commit sensitive information. Use Azure Pipeline’s secret variables for API keys and passwords.
5. Document Your Pipeline
Add comments to your YAML file explaining complex steps. This helps contributors understand your build process.
Comparison with Other CI/CD Solutions
Feature Azure Pipeline GitHub Actions Travis CI CircleCI
Free for OSS Unlimited minutes 2000 min/month Unlimited Limited
Parallel Jobs 10 20 5 1
Platform Support Win/Linux/Mac Win/Linux/Mac Linux/Mac Linux/Mac
YAML Config Yes Yes Yes Yes
Visual Editor Yes No No No
Common Troubleshooting
Build Fails on First Run
Check if your project has all dependencies properly defined. Azure Pipeline starts with a clean environment each time.
Tests Pass Locally but Fail in Pipeline
This often happens due to environment differences. Ensure your tests don’t depend on local file paths or specific machine configurations.
Pipeline Runs Too Slowly
Consider caching dependencies, using parallel jobs, and optimizing your test suite to run only relevant tests.
Cannot Access Private Packages
Use service connections or secret variables to authenticate with private package registries.
Conclusion
Azure Pipeline represents Microsoft’s commitment to open source projects and the GitHub community through seamless GitHub integration. With unlimited build minutes for open source projects, 10 parallel jobs, and powerful DevOps automation through GitHub integration, it’s an excellent choice for GitHub open source projects requiring robust DevOps automation.
The platform’s ability to automatically detect project types and generate appropriate build configurations makes it accessible to developers without deep DevOps knowledge. Combined with features like multi-platform builds, extensive language support, and a visual pipeline editor, Azure Pipeline provides everything open source projects need for modern DevOps automation and GitHub integration.
Whether you’re maintaining a small library or a large framework, Azure Pipeline’s free tier for open source projects removes the barrier to professional-grade DevOps automation and continuous integration. Your contributors will appreciate the immediate feedback on their pull requests, and your users will benefit from the increased reliability that comes with automated testing.
Ready to enhance your open source project with professional CI/CD? Start with Azure Pipeline today, and don’t forget to explore more open source development resources to take your project to the next level!